
I used to avoid vegan chocolate chips.
Not casually.
Deliberately.
They melted into nothing.
Or refused to melt at all.
Or tasted like sweetened wax pretending to be chocolate.
Every bag claimed “dairy-free” like that alone meant quality.
But removing milk doesn’t automatically create good chocolate.
The problem was never that they were vegan.
The problem was structure.
Real chocolate chips have snap.
They soften in cookies but don’t disappear.
They create defined pools, not oily streaks.
They taste deep, slightly bitter, properly sweet — not flat.
Most vegan versions miss that balance.
Too much coconut oil.
Not enough cocoa butter.
Low cocoa content.
Poor tempering.
This recipe doesn’t guess.
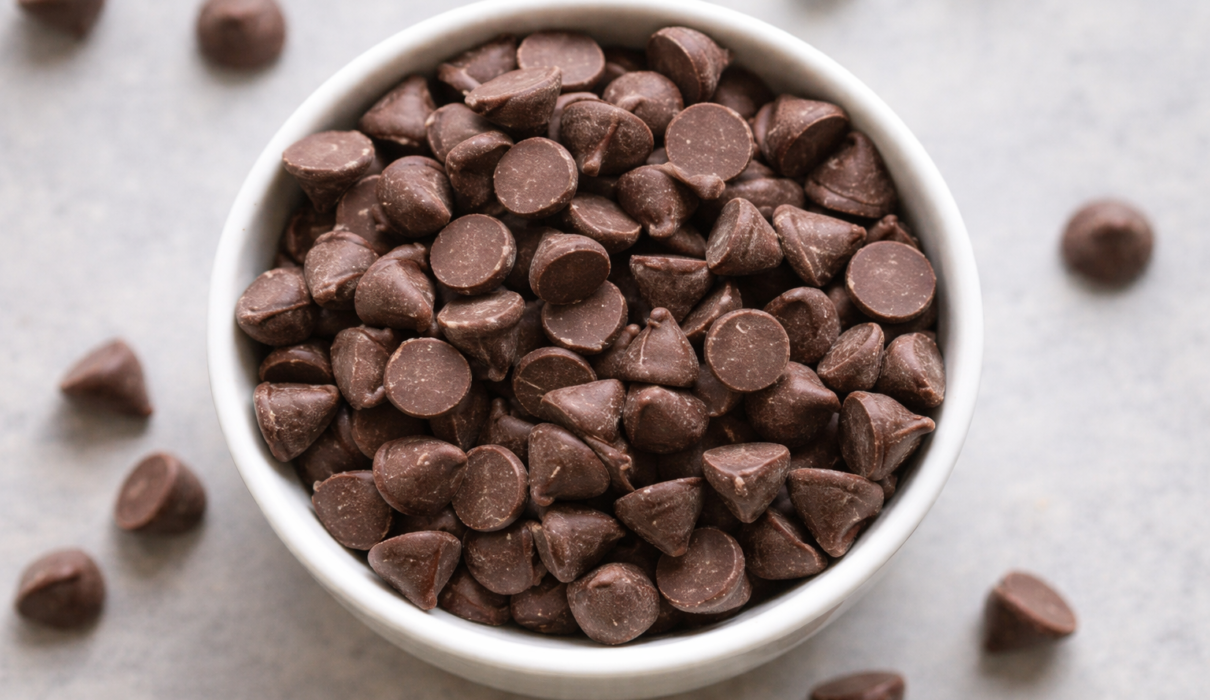
These vegan chocolate chips are glossy, stable, and actually behave like chocolate. They melt smoothly, hold shape when baked, and set with a clean snap once cooled.
No dairy.
No waxy texture.
No strange aftertaste.
Just proper chocolate structure.
What This Actually Is
If you break chocolate down to fundamentals, it’s only a few things:
- Fat.
- Cocoa solids.
- Sweetness.
- Control.
In traditional chips, cocoa butter provides structure and melt. Cocoa solids provide flavor. Sugar balances bitterness. Tempering creates stability.
A good vegan chocolate chip follows the same logic.
There’s no need for coconut oil shortcuts or filler fats.
When the cocoa butter ratio is correct, the chocolate sets firm, melts evenly, and behaves exactly as it should in cookies, muffins, or pancakes.
Structure first.
Imitation second.
Ingredients (Makes About 1½ Cups)
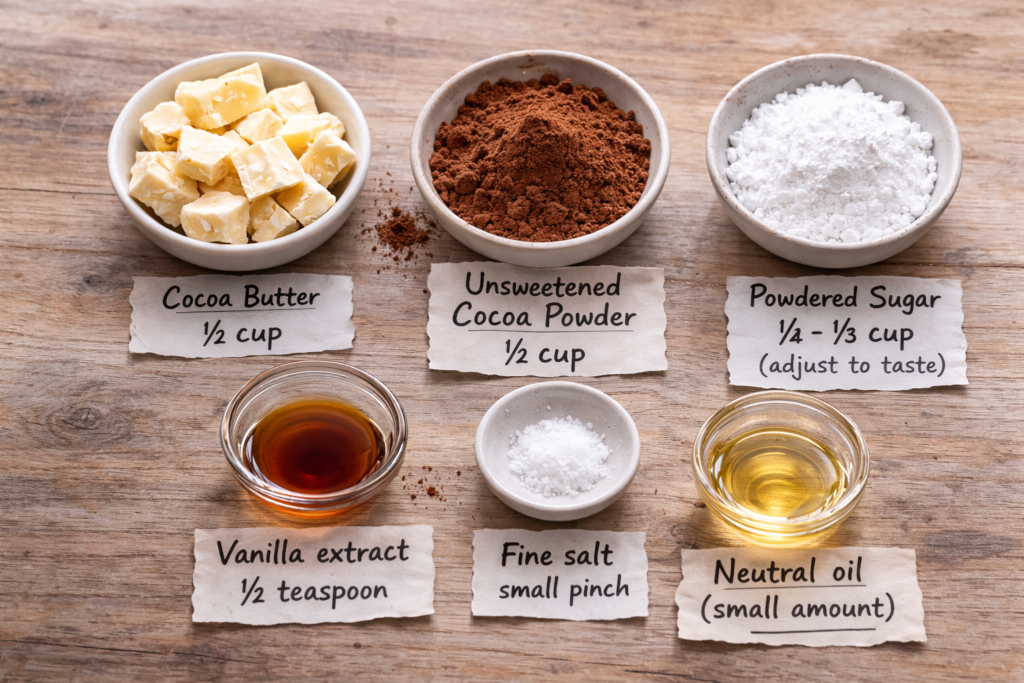
You don’t need anything complicated.
- Cocoa butter, ½ cup
- Unsweetened cocoa powder, ½ cup
- Powdered sugar, ¼–⅓ cup (adjust to taste)
- Vanilla extract, ½ teaspoon
- Fine salt, small pinch
Cocoa butter matters here.
Without it, you don’t get snap.
You don’t get gloss.
You don’t get real melt.
How To Make Them
Gently melt the cocoa butter using a double boiler over low heat.
Do not overheat. Chocolate is sensitive.
Remove from heat and whisk in cocoa powder, powdered sugar, vanilla, and salt until completely smooth. If needed, sift dry ingredients beforehand to prevent graininess.
Let the mixture cool slightly.
For best results, temper the chocolate by allowing it to cool while stirring, then gently reheating just enough to keep it fluid. This step improves shine and texture but can be skipped if you prefer a softer chip.
Transfer to a piping bag and pipe small dots onto parchment paper.
Let them set at room temperature or refrigerate briefly until firm.
Peel off and store.
That’s it.
Texture Control (This Matters)
If the chips feel soft at room temperature, increase cocoa butter slightly next time.
If they taste gritty, sift the dry ingredients more carefully.
If they bloom white after setting, the temperature shifted too quickly while cooling.
Chocolate rewards precision.
It does not reward rushing.
How They Perform in Baking
These vegan chocolate chips hold their shape in cookies.
- They soften but don’t vanish.
- They create defined chocolate pockets.
- They don’t leak oil into the dough.
If you want more melt and spread, slightly reduce cocoa butter.
If you want firmer chips, increase it a touch.
Control the fat, control the result.
Mistakes That Ruin Vegan Chocolate Chips
- Using coconut oil instead of cocoa butter
- Overheating the chocolate
- Adding liquid sweeteners
- Skipping sifting
- Letting moisture touch the mixture
Chocolate and water do not negotiate.
Storage
Store in an airtight container in a cool, dry place.
Refrigeration is fine, but avoid condensation.
They keep for several weeks.
Freezing works for longer storage.
Final Thought
Good vegan chocolate chips don’t try to mimic milk chocolate.
They respect chocolate itself.
Balance the fat.
Respect the temperature.
Keep the ingredients simple.
Make them once and you’ll understand why most store-bought vegan chips miss the point.
If you want a sugar-free version, a stevia-sweetened option, or a comparison between homemade and store-bought brands, tell me what to write next.